Firstly apologies for my slackness in regular posts...
This question has come up a lot, and its how do I make custom hatch patterns for Revit?
Typically I'll recommend using Cadro's Hatchkit.
However, I recommend a different workflow to using hatchkit directly as the editor. I like to use the import DXF feature.
- Begin by starting up Revit.
- Start a new project.
- Start a drafting view, set the scale to 1:1 for a drafting pattern or 1:100 or similar for a model pattern.
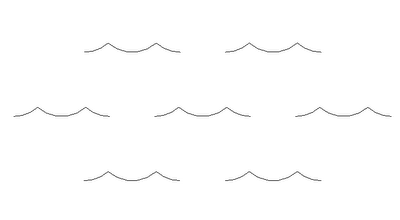
- Now using solid detail lines draw the pattern you'd like to create at the scale you require it. In my example I'm trying to create a water surface pattern (some waves).
- Next we need to outline a box/tile that if repeated would create a clean pattern and break our linework here.

- Then delete the excess linework. (leave the box there as this helps to define the size of the tile)

- Export to 2004 DXF format.
- Start HatchKit
- Go to File-->Import (change files of type to DXF entities) Find you file and import

- Now we just need to delete the box that we drew. Select each of them by clicking on the white box and delete. You actually end up deleting 6 lines...

- Finally add a name/description/comment then save as a Revit Model or Drafting pattern as required.
- Its now ready to be imported and used in Revit!